For anyone who must eat gluten free and who loves bread, life can be extremely challenging. Ready-to-eat gluten free breads are tasteless, often dry, and don’t have quite the texture you’re expecting. Homemade recipes often turn out crumbly and don’t hold together like bread should. And never mind the flavor…oh my!
Yet, gluten free options are growing in the marketplace. And that’s to be expected…the demand is growing for assorted reasons. After being disappointed about gluten free recipes and options many times over, I decided to try once again to enjoy bread, and review the product at the same time.
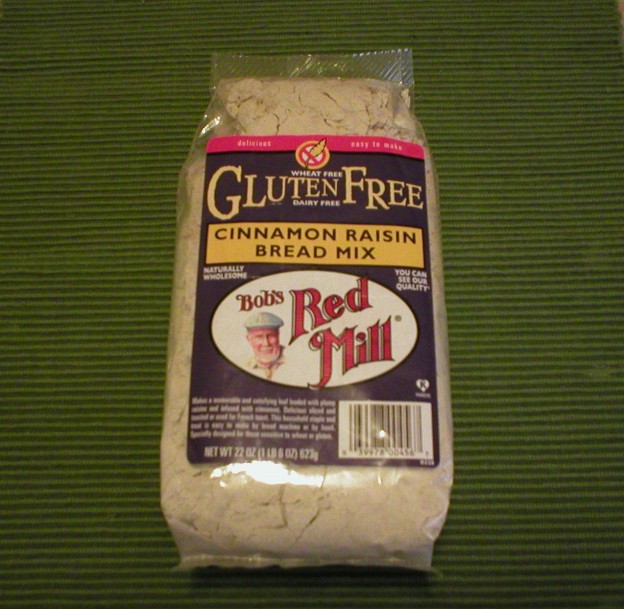
Today’s test is on Bob’s Red Mill Gluten Free Cinnamon Raisin Bread Mix. (Please note that I have no connections with the Bob’s Red Mill company, other than buying their products at the supermarket.) Here’s my two cents…
Price. First of all the price seems hefty, at just under $5 a bag where I purchased it. However, when comparing it to the price of ready-to-eat gluten free loaves, it was comparable. So I suppose that’s about all one could ask.
“Hidden” raisins. When I picked up the package I couldn’t see any raisins. No matter how I jostled the bag around I couldn’t see any raisins, so I guessed they were in a separate pack inside, even though the directions didn’t mention any raisin package and they weren’t among the added ingredients I needed. Well, the raisins were there…just “hidden.” When I emptied the package into my mixing bowl, the raisins were there, and they were plentiful! They were well coated with the flour mixture, so they just weren’t visible while in the bag. Thanks, Bob!
Ingredients. The bag includes a separate yeast package, which is to be expected. Other than that, you add warm water, eggs and oil, in a specific order, proofing the yeast first. Very reasonable and most people would have those few ingredients on hand.
Ease of mixing. The instructions recommend using a stand mixer, which I have. With that appliance, the ingredients blended extremely easily and quickly into a smooth but rather thick batter. Without a stand mixer, it will likely involve a lot of hand mixing to achieve the same smooth texture achieved with the stand mixer. The package says it will be like cake batter. No so to me. IF it was cake batter, it’s so thick I expect you’d have a really dry cake on your hands. It IS smooth like cake batter, but don’t expect it to be as thin because it’s much thicker than that.
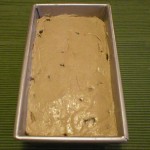
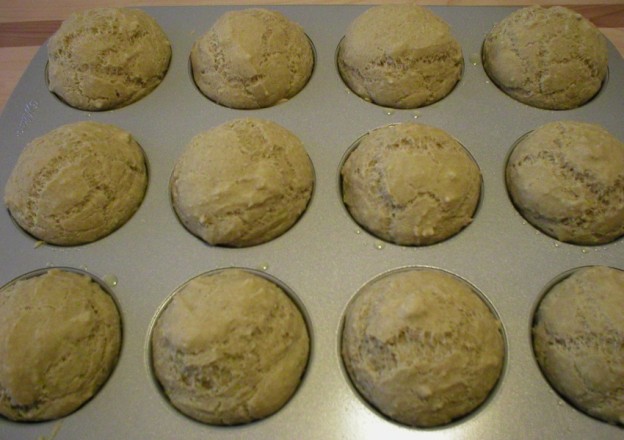
Raisin Bread Ready to Rise
Baking pan. The instructions call for a greased 9×5 nonstick loaf pan. I do not have a nonstick loaf pan. Instead I have a good quality aluminum loaf pan. With that, I greased it well with a pat of real butter and hoped for the best. No issues…the bread released easily after baking without any sticking whatsoever. Yeah!
Rise time. The instructions call for allowing the bread to rise in a warm place for 45 to 60 minutes until the dough is level with the top of the pan. Mine took 53 minutes to reach that point. So, Bob is “right on” here.
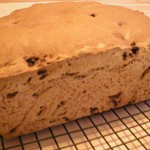
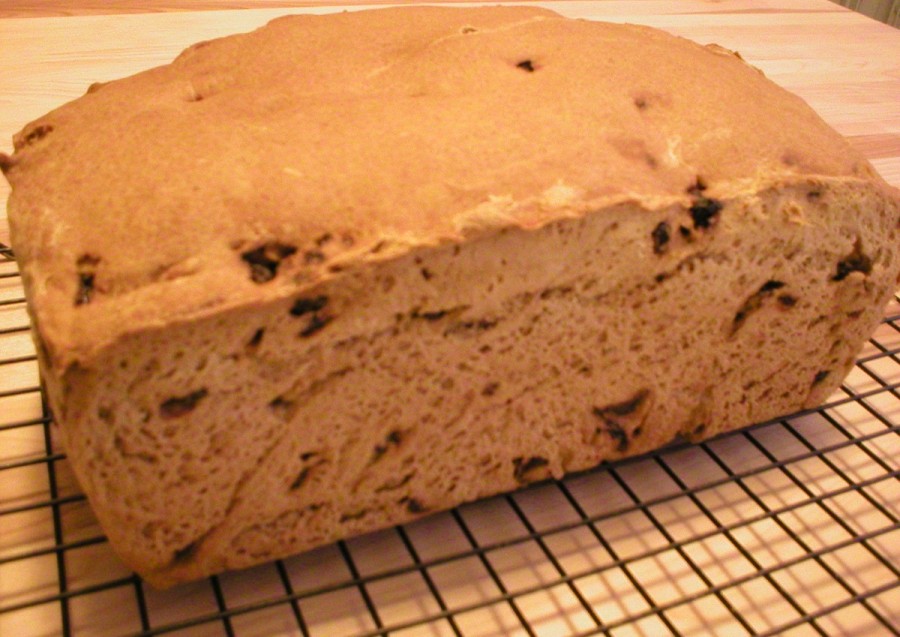
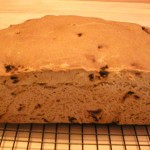
Baked Cinnamon Raisin Bread
Baking time. Bob calls for allowing the bread to bake for 60 to 65 minutes until it reaches an internal temperature of 205°F. This bit of instruction may present issues with some people who don’t have an instant read thermometer (which in my life, is a kitchen essential). I baked the bread for 60 minutes and noticed it had pulled away from the sides of the pan. The internal temperature was close. I declared it to be done.
Cover with aluminum foil during baking. The instructions call for covering the loaf with aluminum foil while baking after it begins to brown. I did not have any foil at the time, so I baked it without the foil. I noticed that the bread was nicely browned when it was finished baking…not too dark. However, the top was very tough and dry. It was hard to poke the thermometer through the top of the bread to test the temperature. SO, apparently the foil recommendation is there not for browning, but for maintaining moisture in the loaf. I suggest you use the foil!
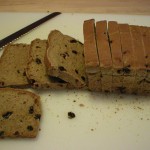
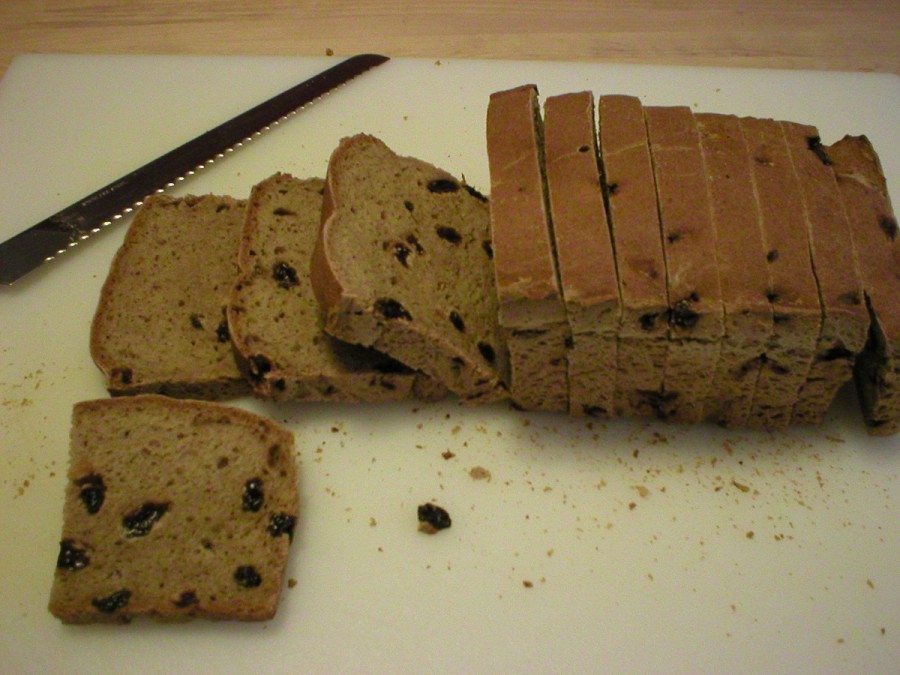
Sliced Raisin Bread
Allow bread to cool before slicing. This is a standard recommendation with all baked breads, and it’s no different here. If you cut bread while it’s hot (as delicious as it is), moisture escapes through the cut section and the bread will be dryer than it would have been otherwise. So, give it time to cool before slicing.
Ease of slicing and bread texture. To my absolute delight, this bread sliced easily despite the tough top crust (from my not using foil during the baking). The slices stayed together and didn’t fall apart as so often happens with homemade gluten free bread. The slices even looked like regular bread, or at least they were a very close second. Even the tough top crust was easy to slice with my serrated bread knife. Thanks again, Bob!
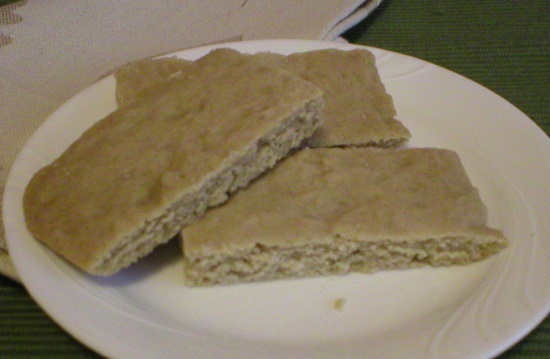
Taste. The taste was fair to me, not absolutely great and wonderful. To my surprise, the bread was moist, so that was a real plus. First I tasted it plain with nothing on it. Secondly, I toasted the rest of the slice and put (real) butter on it. It toasted well in that it browned nicely and held up during toasting. However even with butter, the taste was still a little bland. To me (and maybe not to you), it needed a little more cinnamon to give it a flavor boost. Gluten free flours are very tasteless and it’s often necessary to boost up flavorings to give the baked goods the flavor you’d expect. More cinnamon would have masked the bland flavor of the flours/starches used in the mix.
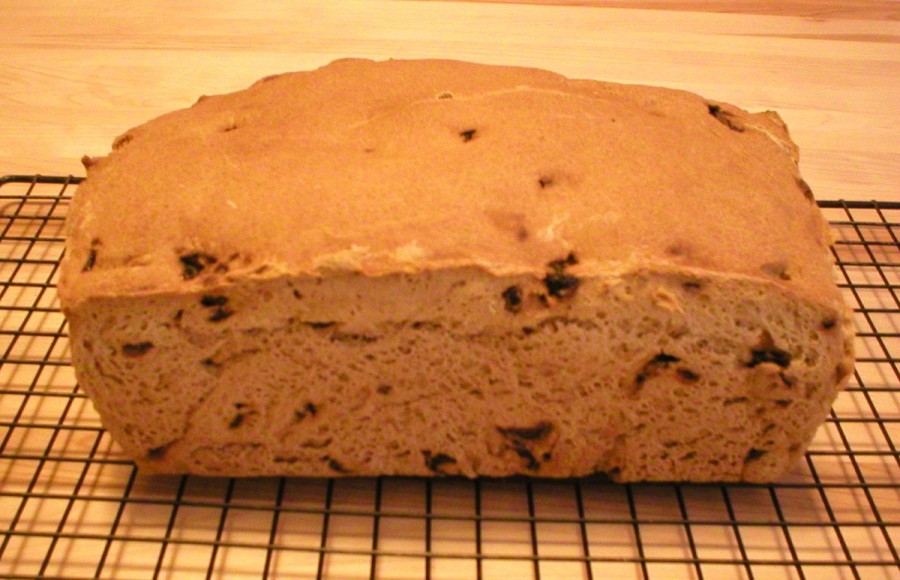
Baked Cinnamon Raisin Bread
Overall. Overall, I think this is a good product and I will buy it again. It does take some time to make in that it’s a slow riser and slow baker. However, as long as you’re home, you can do other things during the down times. The price is comparable to other gluten free breads and mixes that are available, so it’s not unreasonable. The flavor could stand some improvement, but that’s likely to be said about all and any gluten free baked goods. A little cinnamon and sugar on it will go a long way in making you feel like you’re eating regular raisin bread.
Thank you, Bob!
Judi 🙂