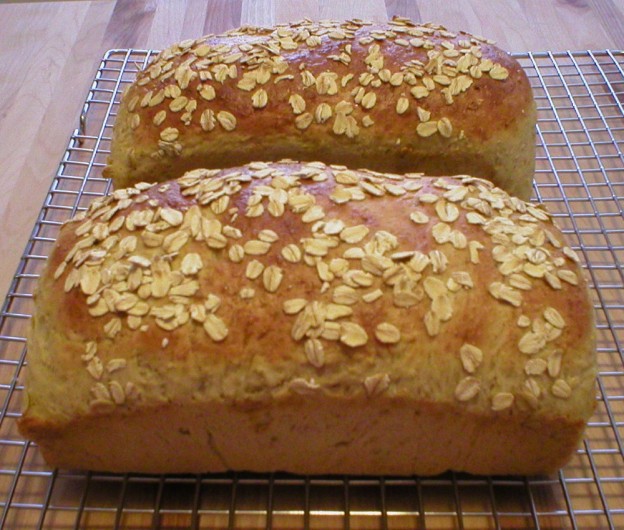
There were select breads that sold consistently well when I ran my bakery. Whole Wheat Flax Bread was one of them. It’s a light wheat bread with flax meal added to it. It’s wholesome and delicious! The recipe is below, followed by a video on how to make it. Enjoy!
Whole Wheat Flax Bread
Makes 2 Loaves
1-1/3 cups milk
1/3 cup honey
1-1/2 oz (3 Tbsp) butter
2 large eggs, room temperature
1 lb (3-1/4 cups) bread flour
7-1/2 oz (1-1/2 cups) whole wheat flour
1/4 oz (2-1/4 tsp) RapidRise yeast
1 tsp salt
1/4 cup ground flaxseed
Heat milk, honey and butter in a saucepan to 120-130°F. Meanwhile, place dry ingredients (including yeast) into a mixer bowl; stir to combine ingredients. Add warmed liquid plus eggs to the dry mixture. Stir with a spatula to moisten dry ingredients. Using a dough hook and a stand mixer, mix on low speed for 8 to 10 minutes until the dough is smooth. Alternatively, the dough may be hand kneaded on a lightly floured board for 8 to 10 minutes until smooth. Be careful not to work in too much extra flour.
Remove dough hook and spray the dough with nonstick spray, and (optionally) cover with waxed paper or plastic wrap to retain moisture. Cover the bowl with a clean towel and let the dough rest for 10 minutes.
On a lightly floured board, divide dough into 2 equal parts. Form each part into a loaf and place each into a greased 8″x5″ loaf pan. Allow dough to rise until doubled in a warm place. Preferred method: place a medium size pot of boiling water on the bottom rack of the oven. Turn the oven light on (but do not turn the oven heat on). Place UNCOVERED loaves on upper rack in the middle of the oven. Close oven door and allow loaves to rise. Alternative rising method: Spray loaves with nonstick spray, cover with plastic wrap or waxed paper. Place in a warm place and cover with a clean towel. Allow to rise until doubled in size or until an indentation remains in the loaf when lightly pressed with a finger.
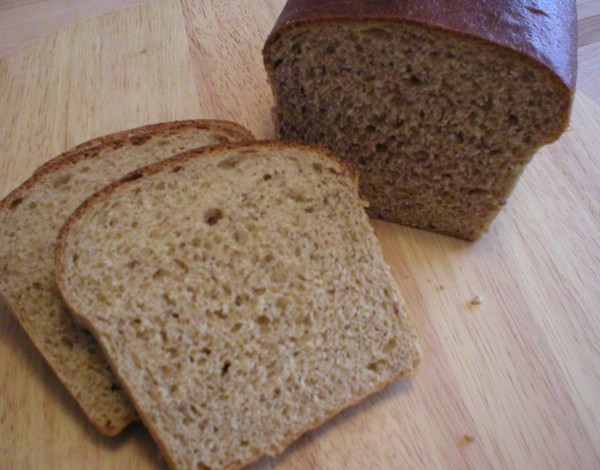
Whole Wheat Flax Bread (Sliced)
Remove pan of water and unbaked loaves from oven after they have proofed (if using that method). Preheat oven to 350°F. Bake loaves in the middle of the oven in preheated oven for about 30 minutes, until golden. Brush with melted butter and allow bread to cool on a wire rack before slicing. Enjoy this fabulous bread any way you eat sliced loaf bread!